Thursday, 20 February 2014

Demolition - Out goes the old.... Seeing the potential for change

Demolition has now been fully completed.

Once there was a shabby kitchen, now there is just a clean space ready for the electrical and plumbing trades.


Our hideous 1950's bathroom is now gone, plumbing is in and GPOs are also installed. We are going for a rain shower as well as a hand held shower. Shower will be tiled in (walk in shower) so we will need do some additional carpentry on the floor to allow for the shower insert.


HUGE TIP: we are using flick mixers, the mixer cartridge needs to installed in the wall and correct plumbing to fit needs to be installed, prior to plastering. This is also an important consideration if any of your bath and vanity taps are in-wall.


Laundry has been demolished and plumbing resupplied to the correct areas. All old pipes have been capped off. You will need a licenced plumber to do this.


The window in our master bedroom has been removed, and the existing "kitchen sink in bedroom" has been removed with all plumbing works capped off. A walking wardrobe will be added to this space at a later stage.


Wednesday, 5 February 2014

Tiles aint Tiles: Bathroom, kitchen and laundry tiles are now sorted.

We have now secured and orders our tiles for the ensuite bathroom, kitchen and laundry.

What a mammoth task, what a mammoth tile selection.

We bought our tiles from Beaumont Tiles in Box Hill. We found them to be the cheapest Beaumont tile retailer and the closest.

Bathroom floor tiles chosen was porcelain "Alaska Charcoal" 600 x 300 @ $34 m2
Bathroom wall tiles chosen was porcelain "Aeon White Rect Structured" 600 x 300 @ $25 m2
Bathroom wall feature chosen was "Graphite Colour Brushed Metallic Strip 300x300mm Mosaic" at an amazing $15 per 300 x 300 sheet. The was sourced from Sydney - Tile Factory Outlet. Why? because Beaumont Tiles wanted to charge us a whopping $60 per 300 x 300 sheet. We found a very similar item at Tile Factory Outlet for $15 per 300 x 300 sheet. We required 600 wide feature and as we were tiling floor to ceiling we need at least 20 sheets at Beaumont this would have costed a whopping $1200 bucks!!! instead we paid $300 bucks!!!

 
*** TIP: the main tiles we source locally in Melbourne, however, the feautres we bought over the internet, as it was small component to risk ***


Kitchen and Laundry floor tiles chosen was porcelain "Gastone Carrera White Semi Gloss" 450 x 450 @ $32 m2 - slight marble effect, should look pretty good next to the high gloss cabinetry.


First Hiccup - RE: The Contracts...

Well we have officially hit our first snag last week with Damco Kitchens.

We signed our draft contracts and paid our deposits, however, we then added a variations, in which we were happy to pay for as an extra.

These variations was what caused us all the hassles. The overall draft invoice we signed included variation cost (including GST). When the final contracts were created and invoiced for our review, what Damco did was they removed all the variation components out of the original invoice, and recreated a new separate variation invoice. Which we were happy about as it offered clarity, however, their accounting during the process of separation was not accurate.

The main issues I found that required rectification was:
  • The original variation which total $7900 was discount to $6000 (not including GST) and agree upon to secure my business. Then this was added to the overall invoice and GST applied, which equated to a total variation cost of $6600 including GST.
  • When this invoice was separated out of the original contract, the GST was not appropriated accounted for, and as a result when we made amendments to this variation, effectively a doubling of the GST was applied.
  • The confusion was worsened when we removed the costing for a bath (cost of tiling, carpentry, wet proofing etc) as it was too big to fit in our ensuite, and replaced it/substituted it for a walk in shower.
  • When Damco account the substitution for the bath/shower, the removed the credit us the amount post GST and the charged us the amount of the shower with full GST cost. In other words the double dipped.
**** BIG LESSON: always review and double check your contracts. Go through things with a fine tooth comb, and always ask for clarifications/alterations/acceptance in writing with a date and signature. ****
After a few emails it was finally rectified to the correct state and costing for the build was finalised. Bringing the Damco build to a total of (TBA at the end of the Build). This include supply and labour of Kitchen, Laundry, and bathroom. I think this was a good price, when compared to the other quotes we had received.

I will be posting at the end of the build the full listing of cost incurred during the renovation.

At Damco we are now primarily dealing with Nikhol (Designer/ Final contracts person) and Szabi (Project Manager). At this stage I am impressed with both Nik and Szabi, and they have been to this day very responsive to all my concerns and needs. Szabi who is managing the build seems to be very experienced, having a background in carpentry. In a nutshell they are great guys to deal with and very professional.


Monday, 3 February 2014

What color paint? There are whites and there are WHITES

When to choosing the colour to put on your walls you will find that it will be on of the hardest decisions that you will have to make.

Bunnings in Box Hill was our ritual every weekend. And after picking our base colour scheme we went through about 9 colour samples pots before settling on our final choice.

Our base colour was grey walls and white trims and ceiling.


After trying a multitude of different greys, we settle on tranquil retreat (1/4 strength), vivid white for the trims, and Brilliant White for the ceilings (A special dulux product). We chose to go with Dulux.

Paint Types used - We chose to go with the Dulux range.

For the walls we used low sheen "Wash n Wear" as this was on sale at Bunnings for $69 for a 6 litre tin (bonus 2 litres).

For ceilings we used a much more expensive ceiling white paint called "Light & Space" in brilliant white. It has some titanium pigments in the paint to make their whites brighter. Coverage of this paint is not very good, we used a spray machine for the ceiling, however found that the rollover was much better to use. We had to cover very old of pink ceilings so 3 coats was required, and a brown ceiling which required 4 coats. Under sunlight the room is very bright and would definitely use the paint again.

For the trims we used high gloss "Aquaenamel" paint. The reason I chose a water based paint, was because I was going for a vivid white finish and I did not want the white is yellow over time like it would with the oil based paint. The finished is not as good a oil based. And I have to do a light sand after each coat to get a smooth "brush stroke free" finish. I would use this paint again as well as it was a lot glossier that I expected, about 80% gloss of oil base high gloss. so really its in between a semi gloss and high gloss oil based paint. The only down point of the paint it that I had to sand in between coats of get a smooth finish.

For all the prep work, we used the Dulux 1 Step. Tip here is to mix your colors into prep paint for a much better coverage and finish when you put on you top coats.

Below pic is one of a room with all completed paint work except for the window trims which only the prep coats is on. I had to do 2 prep coats as the old oil based trims are dark pink.


Monday, 27 January 2014

Carpets are out - Revealing Tassie Oak Hardwood floors.

Carpets have been ripped out.

Easy to remove, however, I found it time consuming. The border spikes that hold the carpet down were tough to get out. TIP: You need to get yourself a pry bar.

Carpet have all been remove from rooms. Below pic is the master bedroom that had a kitchen sink and cabinetry. This has now all been removed. The room look huge now. All are now ready for patching and painting.


The family room is currently the dumping place. This is the second half of the demolition. I have already cleared and dumped the first load of rubbish. TIP: We used our local hard rubbish collection to removed our demolition rubbish. This saves you from hiring a bin. Most councils allow 2 times a year for hard rubbish collection.


 Our lounge room. I will be cladding the fireplace.


The dining room wall that contained the 1950's Bar has been demolished. New studs inserted into this non load bearing wall. Makes of world of difference. Still needs to be patched then painted.
 
All the internal doors have been purchased. We chose Rockport smooth skin. The smooth skin will allow a smooth finish when paint is applied. I purchased these from Masters for $47.43 per door. This was after a 10% discount from Masters due to their price beat guarantee.

Thursday, 23 January 2014

Damco Project Management tool that is in use

This is what Damco Kitchens uses to management their projects.

Interesting. Don't really know how accurate it is, because my understanding is all the check measure including appliance measure for cabinetry manufacturing has been completed.


Everything was a bit rush and Damco push us hard to finalised our selection choices. When we first prepared our quote we were told we would be given ample time to come back to the little details like cabinetry handles, style of stone bench top etc.

In hindsight we should have selected all this at the start, and not followed the advice of Damco.

Anyways the cabinetry is not ordered, so fingers cross.


Wednesday, 22 January 2014

The Shoe String Budget: Ways you can cut cost in your renovations.

Like many out there, we have a strict budget for our renovations works.

Ours was no more than $70k (including all appliances and fixtures) to complete kitchen, Bathroom, laundry, polish the floors, paint the whole house. Our goal was to bring the house up to a standard where my wife can be comfortable.

While Damco Kitchen group is doing the majority of our renovation works, like sealing up doors, widening entrance ways, installing the kitchen/laundry/bathroom cabinetry, etc. We, aka "I", have the arduous task of demolishing the existing cabinetry, repairing walls and prepping them for painting, repairing window frames, etc. Damco Kitchens, was flexible enough to allow me to perform works by myself in conjunction with their impending renovation works.

So, here are some of the areas that you can save some money.

1. Choosing the right builder, and understanding what you are paying for.
Our first few quotes from various master builders with the Melbourne area exceeded over $150k. I have since gotten to know some builders, and I understand now why the price variation is so large. My mate who is a registered master builder, says that he will charge an average minimum of $40k and beyond in professional fees just to manage the renovation project. This involves obviously coordinating all the building supplies, trades, carpentry, electrical, plumbing, site preparations, problem solving and management, etc. Therefore, can save yourself a bundle by just project managing yourself.

Or, you can cheat and engage and utilised trade specific renovators to do specific renovations. i.e. a Kitchen renovator group to do your Kitchen, a laundry group to do your laundry, etc.This is what we did as we both worked. And at the end of the day, this is working out to be much cheaper. You will find that most Kitchen renovators/builders, are a registered builders and have the skill set and competency to complete building works for non-structural renovation additions, such as kitchen, bathroom and laundry. But word of caution, make sure that they are registered builders (for works over $5k) and that are fully insured.

2. Getting your hands dirty
To save $$$ you have get your hands dirty. I am doing a majority of the demolitions works myself. Of course you have to assess and gauge what you can do, and think about the downstream impacts of doing the works yourself. What do I mean? Well, I can paint the house myself, but will the finish be as good as a professional painter? Answer = NO. So what I did was found a painter trade that was flexible, and was willing to allow me to do all the dirty work myself, like removing the wall paper, prepping the walls and trims for paint. Save me a bundle, so I could afford spending more on buying better quality paint and allow for a 3 coat paint job. Why 3 coats? my wall are a dark pink and not smooth and I wanted a perfect finish. It cost me $4800 (just for labour) to paint my 32sq house.

I also remove all the carpet to prep the floors for sanding and polishing, we were lucky enough to have tassy oak floors, which should finish well. This was not an easy job, the removing all the border spikes which held the carpet in place was back breaking. Then, I hadto remove all the staples which held down the underlay. I completed this two weeks ago, and will post some pics in my next post to show what a difference this makes.

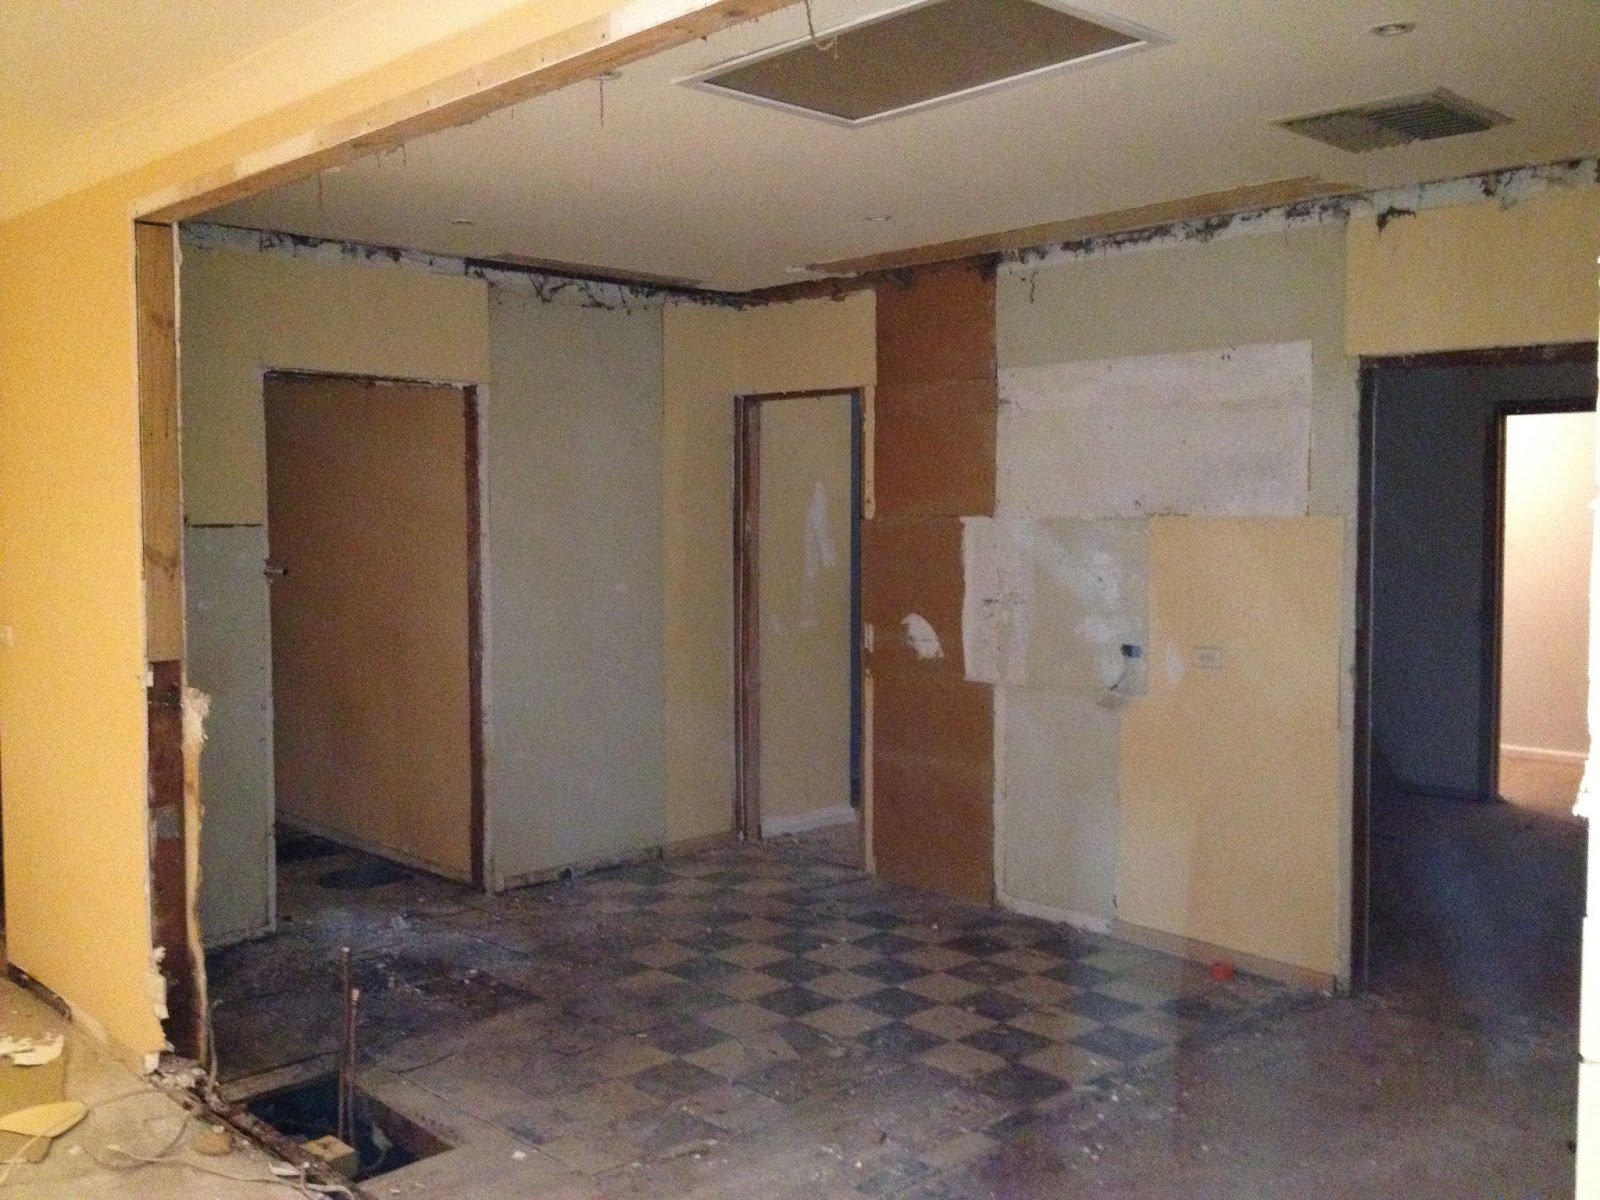
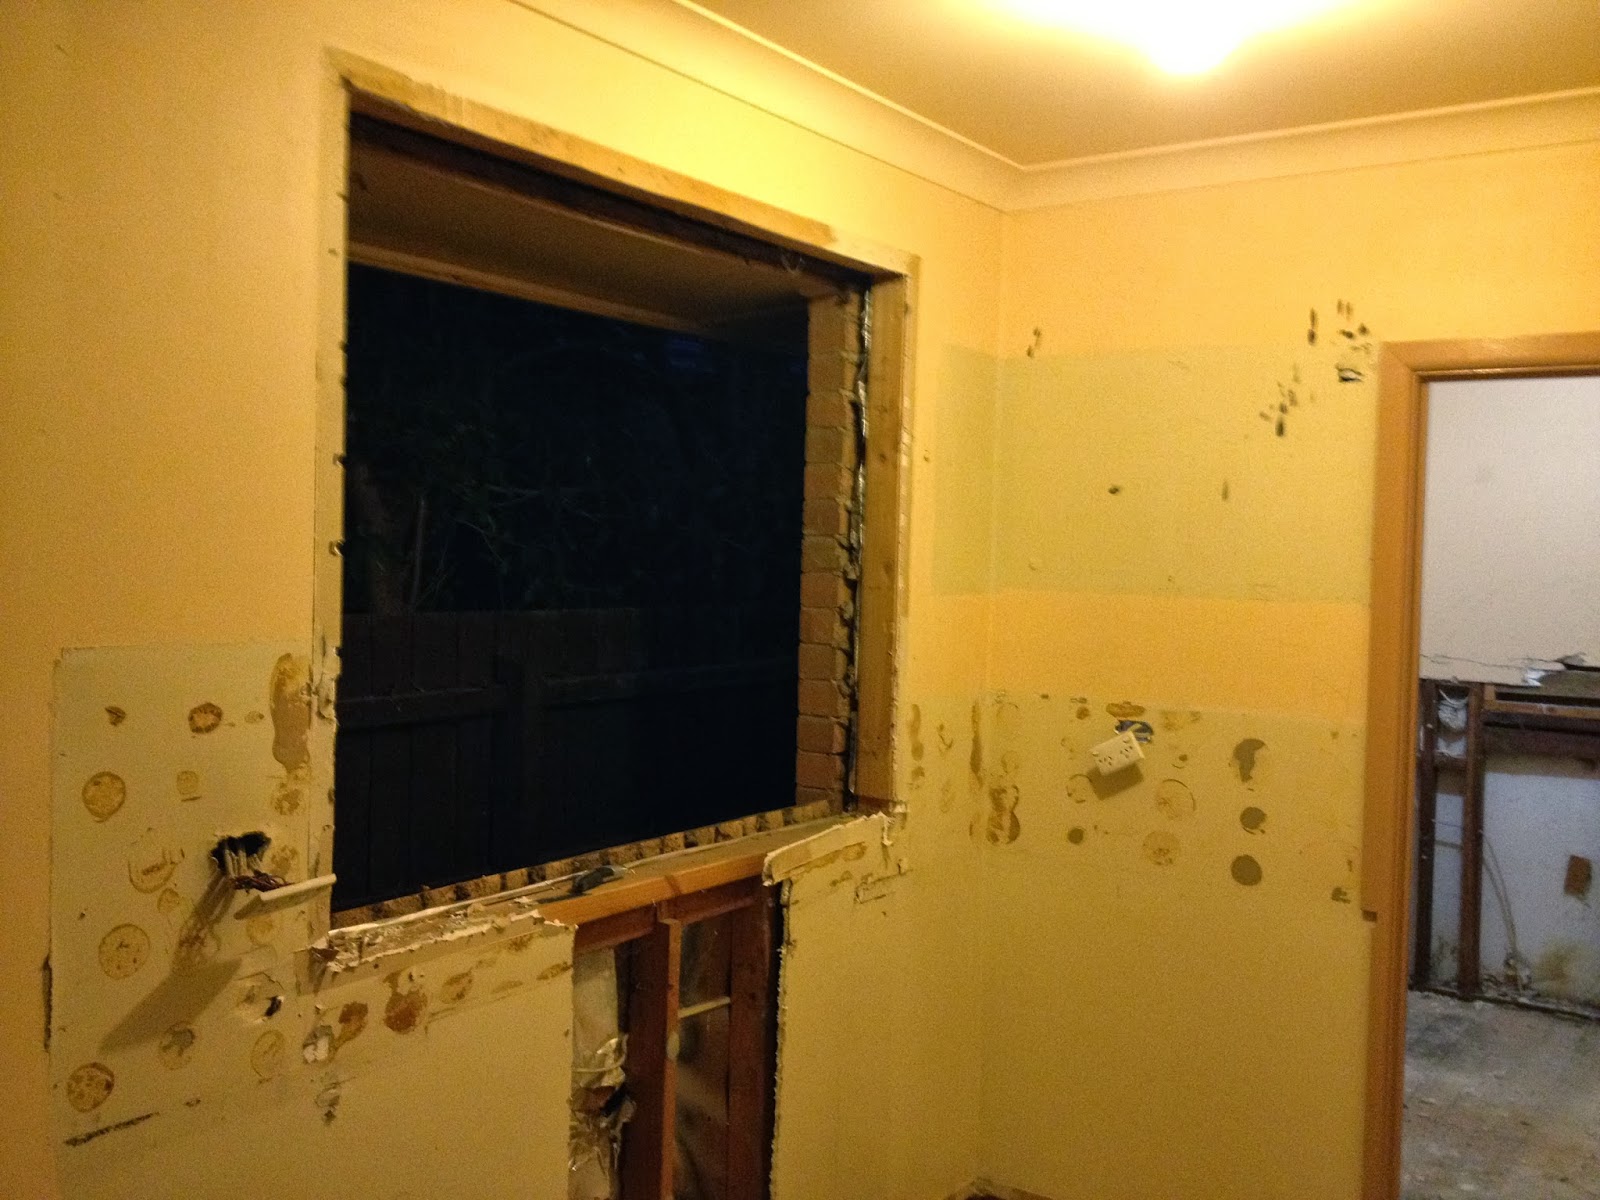
Last week I finished demolishing all the existing room cabinetry in preparation for new cabinetry to go in.

3. Sourcing your own materials
Often if you shop around you, and pick up the materials you want yourself, you can save a bundle. Builders then to charge an astronomical amount for feature light switches, interior doors and handles. For example, I bought some feature Corinthian Rockport interior doors from Masters $47.43 (after a 10% discount - for a price beat). How? Masters had the doors for $53, and Bunnings had is for $52.70, do I got Masters to price beat and they did! It being shrewd on little things like this that will add up. For me, I saved $68.51 as I am replacing all 13 interior doors. Almost everything is online now with prices, so spend a little time researching and you can end save heaps.

4. Be thick skinned, and haggle.
Never ever accept vendors price as the last price. Also ask the question: "Can I do it for cheaper?". A hint here is to have a price in mind, which is not low-balling and/or offensive to the vendor.

For example. I found door handles from a warehouse in Oakleigh south. These handles were marketed online for a discounted price of $13.95 each, which was already very cheap compare to other places like Bunnings and Masters etc. But it didn't stop me from haggling. I ended negotiating the price down to $11.80 each. So be BRAVE and you will reap the rewards. Photos to come in the next blog.

I have done so much ruthless haggling over the past couple of months that it has now become the norm. Oh no! I have become my parents! I am so frugal and vigilant with my money now! :)