Thursday 20 February 2014

The scary world of bathroom fixtures - A renovators journey

Sounds like a movie title? Well picking bathroom fittings might as well be liken to dramatic movie, and here I am under the assumption that picking the tiles and paint color would see the end of my tough decisions. I was sadly mistaken, and any who has gone through a bathroom renovation would more than likely agree. Enter, the brave new world of bathroom fixtures.

The styles, features, finishes, brands was utterly breathe taking. There was at least 50 different types of round shower heads... AMAZING.

All our bathroom supplies came from Tile Importer in Oakleigh south. They are extremely well priced but see Caleb for the best deals.

Products was a mixture of Belavista and ECT.


Our Picks.
Bathroom rain shower head 230mm


Hand held shower

Bathroom mixer with diverter valve


Tap ware for vanity

Basin for vanity

Toilet

Shower Screen 2000 x 1200 x 10 - We also purchase a screen channel for added stability.


Be Savy - Always shop around for trades - Bargin: $4700 to replace floors, fix, sand and 3 coats high gloss finish....

Part of my flooring in my house has no hardwood floors, instead MDF flooring exist - this has to go. So in this area, my Tassie oak floors need to be purchased and relayed.

I employed a group call LJ flooring - I will provide you details of their services at the end of the renovation blog, so stay tuned.

They are a Korean bunch, and on inspection of works done for their past clients I was impressed, and even more impressed with their price.

Their English is limited, so slowly communicating and repeating your point is a must. I also tend to confirm with a text msg as well.

We had variety of flooring quotes, and like our building quotes ranged DRAMATICALLY. From 5k to 12k.

Why we went with this bunch is because they are physically removing the MDF and re-levelling the flooring line with spacers before fitting on the new flooring. This is extremely important for a perfect levelled finish. It means a lot more work for the flooring guy, but you will get a perfect job at the end.

Most of the other flooring guys will just relay the new flooring on top of the old, and they will spin countless stories to tell why this is the best way, but this is certainly not the case. Because in my case, I am sanding and repolishing the existing timber flooring (and not relaying floors to the entire house), so it is absolutely crucial to repair and replace this area so it is perfectly level with the rest of the house. If you simply relay the flooring you will have a 18-20mm rise. To a lot of lazy flooring quacks, they will feed you rubbished to make their lives easier and to earn a quick buck from you.

Anyways, I am hoping that this will work out well, and that I will be able to recommend their services to others.

TIP: I am actually doing my flooring in two stages. Getting the required flooring areas fixed and replace first, then the flooring guy will come back with everything is completed to sand and finish. I am doing this so that the kitchen cabinetry can go in with the correct flooring level and that the tiling edging trim can be installed without distribution and flooring dowel can also be installed. Flooring finish should always be the last trade to be completed.

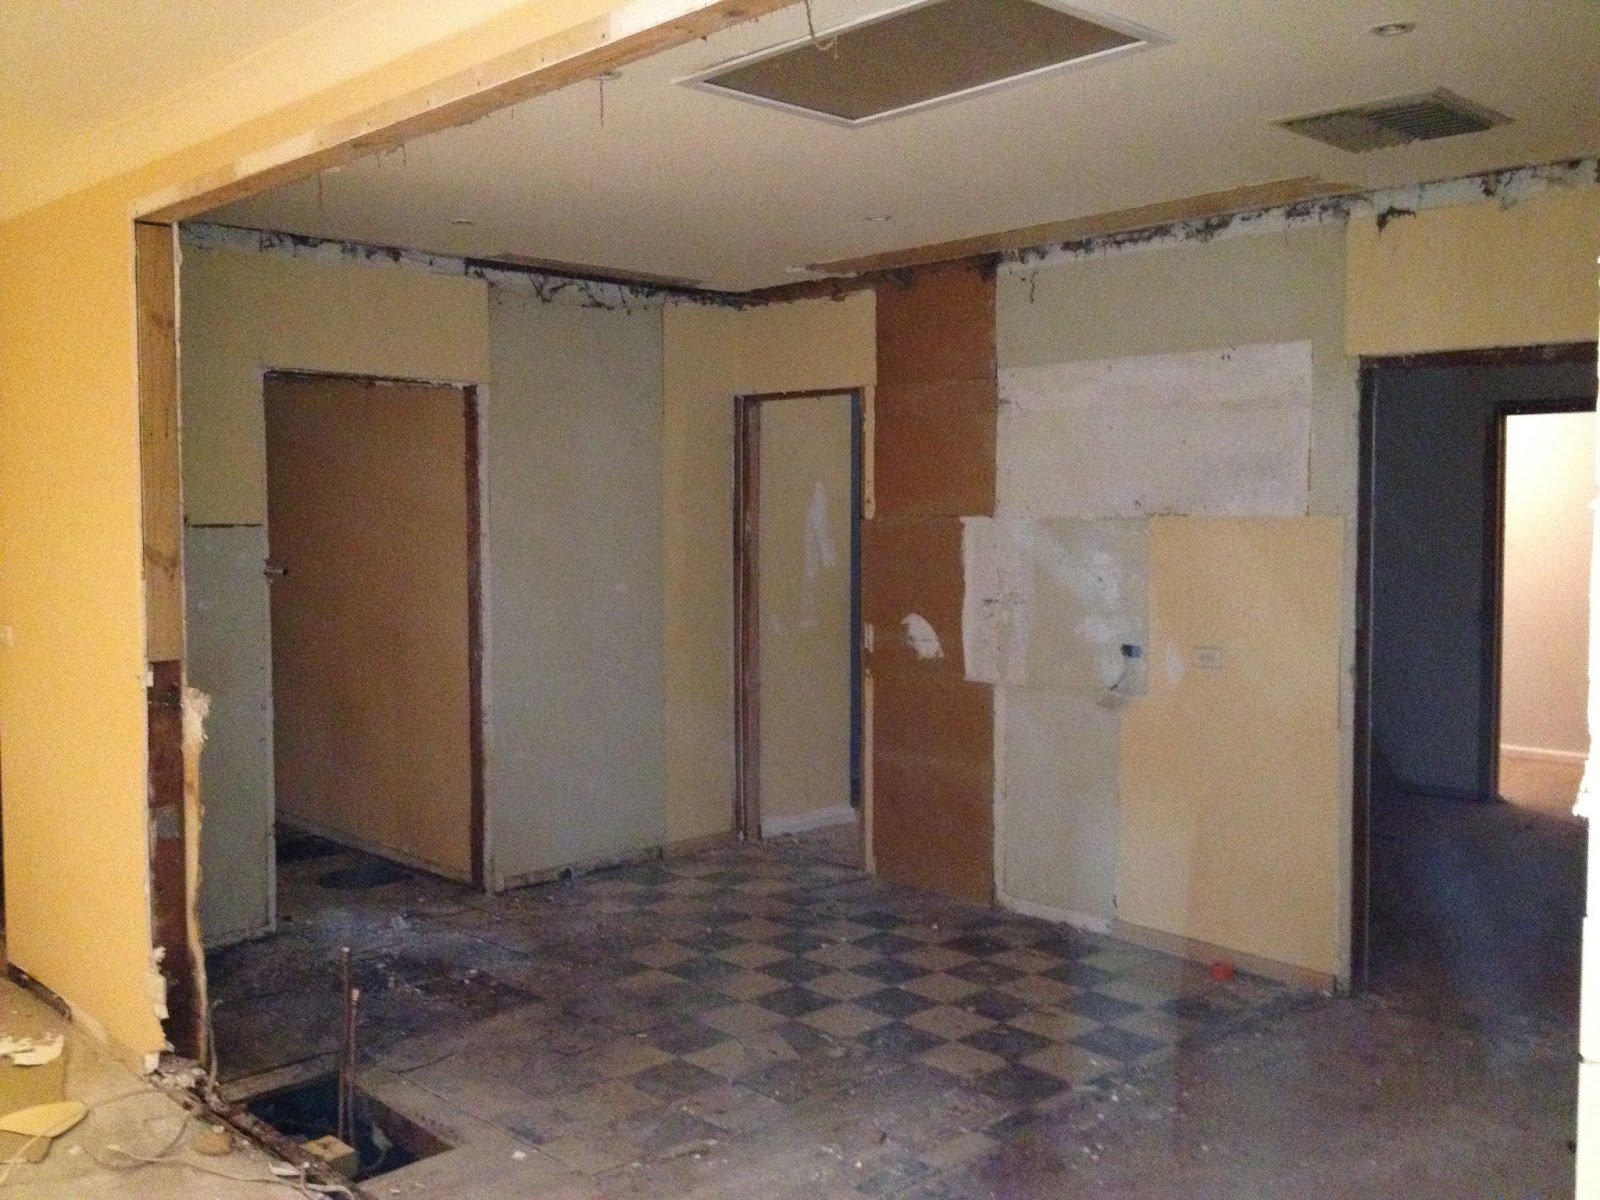
OLD MDF flooring removed....


New Tassie Oak Timber (108mm) purchased and ready for install....

A dramatic change: The weird kitchen layout with two openings has finally been resolved & kitchen area has been enlarged

Carpentry work has now been completed and the 2 weird openings to the old small kitchens have now been sealed to allow us make much better use of the kitchen space.


To increase the size of the kitchen we also sealed up part of the large opening into the kitchen. Some might say reducing a large entrance into your kitchen and family area is blasphemy, but I wanted to dramatically enlarge our kitchen space, as I love entertaining and kitchen space, both in terms of bench space and cabinetry is extremely important to me.


TIP: In reducing the width of our entrance space from 2 meters to 1.1 metres, I intentionally increased in height of entrance to compensate the narrowing of the entrance. This will (in theory) visually compensate for the reduction of the entrance way.


TIP: To further extend the visual aesthetics, I have requested the removal and squaring off of all the edging, entrance trims, and cornices to transform the kitchen area into a clean and modern area.


Final sanding to flatten will occur tomorrow.


Second Problem - Bowing in/on the stud openings.

The second part of our house has renovated in 1980's according to council plans.

There is s 2m plus opening created as part of the old renovation.

This is where the issue/problem arose from, the point in which the opening was cut out was carrying a large roof trust load and over the years has caused the wall stud to bow. As there was basically too much load on this one point.


Damco's builders recommended the solution  to which would fix this issue, by adding of a new beam to spread the load across the beam onto studs, and ultimately to the stumps. Of course this costed us additional $$$$'s. The spending breaking down will be included at the end of this blog, when the renovation has been completed. Stray tuned.


As this could potentially a structure issue, I went with Damco's recommendation and agreed to fixing the issue without hesitation.

I am just glad we discovered the problem now and not later.

Demolition - Out goes the old.... Seeing the potential for change

Demolition has now been fully completed.

Once there was a shabby kitchen, now there is just a clean space ready for the electrical and plumbing trades.


Our hideous 1950's bathroom is now gone, plumbing is in and GPOs are also installed. We are going for a rain shower as well as a hand held shower. Shower will be tiled in (walk in shower) so we will need do some additional carpentry on the floor to allow for the shower insert.


HUGE TIP: we are using flick mixers, the mixer cartridge needs to installed in the wall and correct plumbing to fit needs to be installed, prior to plastering. This is also an important consideration if any of your bath and vanity taps are in-wall.


Laundry has been demolished and plumbing resupplied to the correct areas. All old pipes have been capped off. You will need a licenced plumber to do this.


The window in our master bedroom has been removed, and the existing "kitchen sink in bedroom" has been removed with all plumbing works capped off. A walking wardrobe will be added to this space at a later stage.